
Last updated October 16, 2026
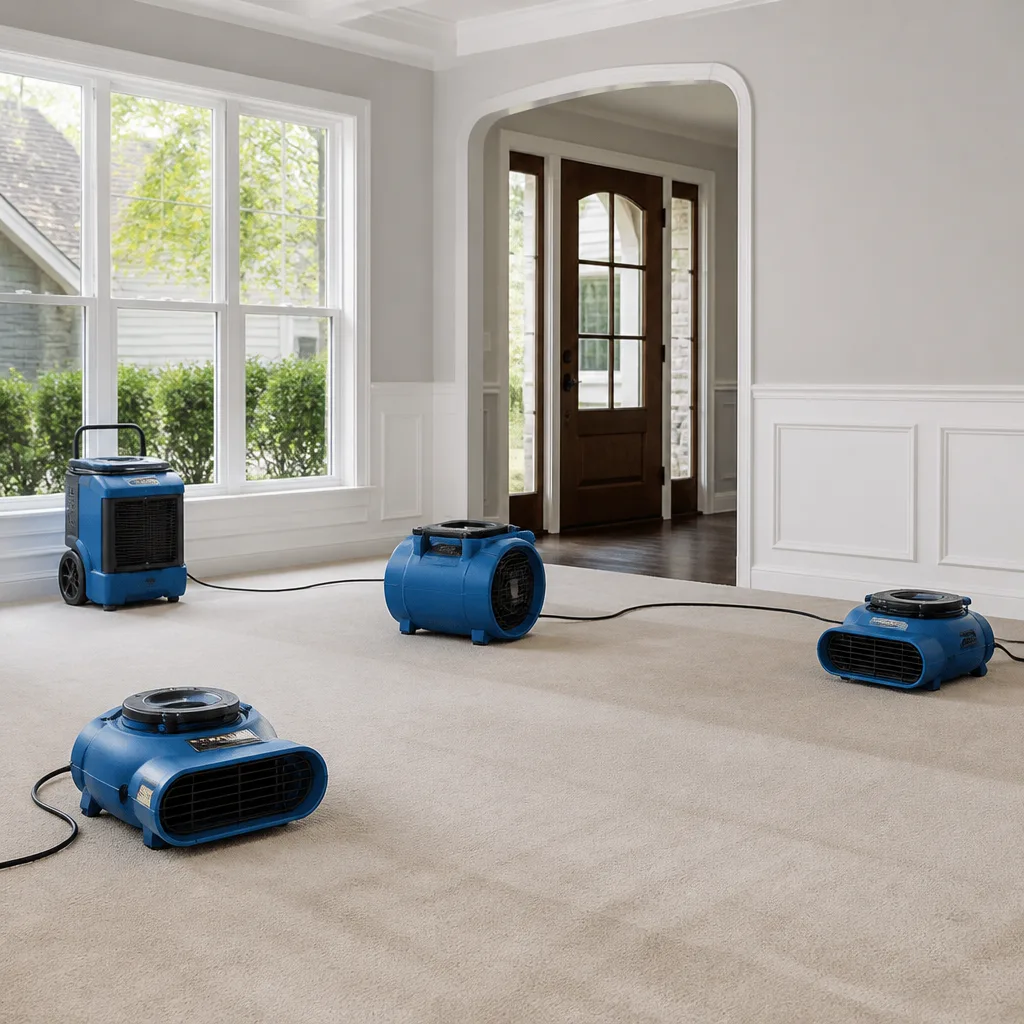 Water damage drying
 Fire & smoke cleanup
 Mold remediation
 Storm response
 Sewage cleanup
 Reconstruction
Free visual inspection and a written scope of work before any mitigation begins - photos, moisture readings, and drying logs go in your claim file
The scope we write is the scope we bill. Anything new gets shown to you, in writing, before we touch it.
Get your free estimateWater Damage Restoration Maintenance Checklist for Hempstead Homeowners
The average Hempstead homeowner spends $4,800 on Water Damage Restoration for a problem that a $12 washing machine supply line hose would have prevented. That number sticks with us because we see it play out weekly across Hempstead’s older housing stock. This guide organizes prevention room-by-room so you can walk through your house today, not someday, and catch the failures that cost real money. You’ll learn the exact moisture threshold that signals hidden damage, which three appliances claim the most insurance policies on Long Island, and the 15-minute post-rain walkthrough that catches foundation seepage before it becomes a restoration job.
Quick Answer
A water damage maintenance checklist for Hempstead homeowners is most effective when organized by room, not by season. Walk the basement first (sump pump, foundation walls, water heater), then the kitchen (supply lines, dishwasher, refrigerator ice line), then bathrooms (toilet seals, caulking, shutoff valves), and finally the attic (roof penetrations, ventilation, insulation). Running this four-zone check quarterly takes under an hour and prevents most of the water damage claims we respond to in Hempstead.
Restoration work we handle
Table of Contents
- Basement: The First Line of Defense
- Kitchen: Appliance Failures That Flood Hempstead Homes
- Bathroom: Small Leaks, Big Restoration Bills
- Attic: Where Water Enters Quietly
- The 16% Moisture Threshold: What It Means and How to Test
- Sump Pump Backup Power and the Failed Float Switch
- The 15-Minute Post-Rain Walkthrough for Hempstead Basements
- Common Mistakes to Avoid
- When to Call a Professional
- Frequently Asked Questions
Basement: The First Line of Defense
If you own a home in Hempstead with a basement foundation, you already know the score: water wants in. The water table across much of central Nassau County sits high enough that basement walls act less like barriers and more like slow membranes. We run Water Damage Restoration in Hempstead calls on basements every week, and the pattern is always the same: the failure was visible for months before the water arrived. Here’s the basement checklist, in the order you should walk it.
- Inspect foundation walls for efflorescence. That white, chalky powder on cinderblock or poured concrete is mineral salt left behind when water evaporates. It tells you water has been moving through the wall. It’s not a structural emergency on its own, but it’s the earliest warning sign you’ll get.
- Check the sump pump discharge line. Go outside and confirm the pipe actually carries water away from the foundation, not into a puddle three feet from the wall. Hempstead’s clay-heavy soil holds water against foundations longer than sandy soil would, so a discharge line that dumps against the house is actively working against you.
- Feel the air. A basement that smells musty even on a dry week has moisture coming from somewhere. Run a dehumidifier and track whether the humidity level drops below 50%. If it won’t, you’ve got a moisture source that needs finding.
- Test the water heater’s temperature and pressure relief valve. This is the small brass valve on the side. Lift the lever briefly with a bucket underneath; it should release a burst of water and reseat cleanly. A valve that drips constantly or won’t reseat is a flood waiting for the first cold snap that stresses the tank.
- Mark and monitor any existing cracks. Draw a pencil line across any crack in the foundation wall and date it. If the line breaks in the next three months, the crack is moving and you need a structural contractor, not just caulk.
One thing we tell Hempstead homeowners repeatedly: basement waterproofing paint is not waterproofing. It’s a moisture barrier, and a modest one. If water is actively seeping through a wall, paint creates a closed system where water pressure builds behind the coating until it blisters and fails, usually in a matter of months. The real fix for active seepage is exterior excavation or an interior perimeter drain, and that’s a job for Water Damage Repair in Hempstead professionals who can document the scope before work begins.
Kitchen: Appliance Failures That Flood Hempstead Homes
Insurance claims data on Long Island consistently ranks three kitchen components ahead of every other water source in the house: dishwashers, refrigerator ice maker lines, and HVAC condensate drains. None of them fail dramatically. They fail slowly, one drip at a time, until the cabinet base swells or the flooring buckles and the problem announces itself. Here’s how to catch each one first.
Dishwashers. The supply line on a dishwasher is under constant pressure, which means it doesn’t need a dramatic rupture to cause damage: a pinhole leak at 40-60 psi sprays a fine mist against the back of your cabinet for weeks. Pull the lower toe-kick panel off twice a year and look for water stains, swollen particleboard, or a musty smell. While you’re there, run your hand along the supply line. Any stiffness, cracking, or brittleness means the line has aged out, and a $15 braided stainless line replaces it in twenty minutes.
Refrigerator ice lines. The plastic tubing that connects your fridge to the cold water supply is the single most common slow leak we trace back on Hempstead kitchen restorations. Plastic degrades, kinks, and cracks, especially when it’s pinched between the fridge and the wall. Shut the water off at the saddle valve, replace with braided stainless, and leave enough slack that the line doesn’t bind when the fridge gets pushed back. While the fridge is out, check the evaporator drain pan underneath for standing water; that’s a defrost cycle failure, not a supply leak, but it rots hardwood all the same.
HVAC condensate drains. Your air conditioner pulls gallons of moisture out of the air every humid Hempstead summer day. That water should flow by gravity through a PVC drain line to a floor drain or condensate pump. When algae or dust clogs the line, the water backs up into the drip pan, then overflows onto your floor. Pour a cup of white vinegar down the condensate line twice a season, and confirm the drip pan itself isn’t rusted through. A rusted pan is a replacement job that costs far less than the ceiling repair below the unit.
Bathroom: Small Leaks, Big Restoration Bills
Bathroom leaks almost never announce themselves. A toilet wax ring that fails lets a quarter-cup of water escape per flush, and it drips down onto the subfloor, not onto your tile where you’d notice. By the time the ceiling below discolors, the subfloor has been wet for months and mold has had a long head start. We’ve performed Mold Remediation in Hempstead jobs where the visible problem was a stained ceiling, but the full scope ran under the entire bathroom floor. Walk this checklist every six months.
- Test the toilet for movement. Sit on the toilet and shift your weight side to side. There should be zero rock. Any movement, even a millimeter, means the wax ring has compressed or the flange bolts have loosened, and water is seeping between the toilet base and the floor. The fix is a new wax ring and bolt reset, not just tightening the caps on the base.
- Inspect the caulking around the tub and shower. Run a fingertip along every seam where the tub meets the tile and the tile meets the wall. Caulk should be pliable and continuous. Cracked, peeling, or missing caulk lets water run behind the wall and into the framing, where it feeds mold you’ll never see until demo begins.
- Check the shutoff valves behind the toilet and under the sink. Every Hempstead plumber knows the scenario: a valve that hasn’t been turned in five years, a homeowner tries to shut it off during a small leak, and the valve stem snaps or the packing nut sprays. Turn each valve a quarter-turn closed and back open once a year. If it fights you, replace it before the emergency.
- Look at the grout lines. Actually look. Missing or cracked grout in a shower surround is the bathroom equivalent of a foundation crack: the problem compounds silently. Seal grout annually with a penetrating sealer, and repair any missing sections before water can reach the cement board or drywall behind the tile.
One Hempstead-specific note: many homes here still have original cast-iron supply lines from the 1950s and 60s. They rust from the inside out, which means the first sign of failure is usually a pinhole leak inside a wall cavity. If your home hasn’t had its supply lines repiped, listen for the sound of running water when nothing is on, and watch your water bill for unexplained increases. Both are earlier indicators than any visible staining.
Attic: Where Water Enters Quietly
Roof leaks usually enter through the attic and travel along rafters to the soffit or wall plate before gravity finally reveals them on a ceiling. By the time you see a stain on the bedroom ceiling, water has been moving through the attic insulation for weeks, compressing it and destroying its R-value even before mold becomes an issue. Hempstead’s freeze-thaw cycles in late winter and our Atlantic coastal storms in fall put extra stress on roof penetrations. Here’s what to check in the attic twice a year, ideally March and October.
- Look for daylight around roof penetrations. Plumbing vents, furnace flues, and attic fans all pass through the roof deck. From inside the attic, turn off lights and look for any pinpricks of daylight around these penetrations. Wherever light enters, water enters.
- Feel the insulation. Batted fiberglass that has been wet becomes matted and compressed. It loses its loft and its ability to trap air. If any area of insulation feels dense or looks flattened, trace up from it to find the leak source above.
- Check the underside of the roof decking for dark streaks. Water stains on the plywood or OSB sheathing often appear as dark, tea-colored trails that follow the slope. They may be old and dry, but any staining that’s still damp to the touch is an active leak.
- Verify attic ventilation. Hempstead summers push attic temperatures past 130 degrees. Without adequate ridge and soffit venting, that heat builds and creates condensation on the underside of the roof deck at night, which drips onto insulation and creates a mold environment. Confirm soffit vents aren’t blocked by insulation and ridge vents run continuous along the peak.
Attic work is the one area on this checklist where we tell homeowners to be careful. Walking joists in a dark, hot attic with exposed nails is a fall and puncture hazard. If you’re not comfortable on a ladder or in a confined space, this is the room to hire out for an annual inspection. A roofer’s thermal imaging scan runs a couple hundred dollars and catches moisture trapped inside wall cavities, which is exactly where hidden damage hides.
The 16% Moisture Threshold: What It Means and How to Test
Wood framing reads moisture on a scale of roughly 6% (very dry) to 30% and above (saturated). The critical number for Hempstead homeowners is 16%. Above 16% moisture content in wood framing, mold can begin to colonize within 48 to 72 hours under the right temperature conditions, and structural components begin to soften. The problem is that wood at 16% moisture looks and feels exactly like wood at 9%. You cannot detect this by touch. You need a moisture meter.
A pin-type or pinless moisture meter costs between $30 and $80 at any hardware store and takes about five minutes to learn. We use professional-grade meters like those deployed under IICRC protocol on every water damage restoration job we run in Hempstead, because the standard is the standard: anything above 16% in framing, subfloor, or drywall gets documented, mapped, and dried until readings come down. Here’s how to use the tool yourself.
- Buy a meter with a wood setting. Cheap meters designed for firewood will give you a ballpark, but for building materials you want a meter with separate settings for wood and drywall. The B-Air moisture meters we see homeowners use are accurate enough for early detection.
- Establish a baseline. Test a known-dry area first: an interior wall stud on an upper floor, away from plumbing. That’s your house’s normal reading, typically 7-12% in Hempstead’s climate. Write it down.
- Probe the suspicious areas. Take readings at the base of walls below bathrooms, under kitchen cabinets, around window frames, and along any exterior wall that faces prevailing storms. Anything reading higher than 3-4% above your baseline deserves a longer look.
- Anything above 16% is a problem. Not a maybe. At that moisture level, you have an active water source feeding the material, even if no stain has appeared yet. Mark the area with painter’s tape, find the source, and dry the material with air movement and a dehumidifier until readings drop under 12%.
This is the part of the checklist that catches “invisible” water damage: the slow drip inside a wall, the pinhole leak behind a cabinet, the capillary seepage through a brick foundation. Visible staining is a late-stage symptom. Moisture meters catch the problem in the colonization window, before mold makes a home in your framing.
Sump Pump Backup Power and the Failed Float Switch
Every sump pump in Hempstead will eventually fail. The only question is whether it fails on a dry Tuesday in July, when you notice it chirping, or during a spring noreaster when the pit is filling at ten gallons a minute and your basement floors are underwater. Most failures trace back to two components: the float switch and the backup power source. Both can be tested in under fifteen minutes.
The float switch. This is the mechanism that tells the pump when the water level is high enough to activate. Mechanical floats on a tether fail when the tether tangles or the float itself waterlogs and sinks. Electronic switches fail silently when their sensors corrode. What a failing float switch sounds like is a pump that cycles on and off rapidly, every few seconds, even when the pit isn’t filling. That rapid cycling is the switch sending a false signal. It will burn out the pump motor within days if left alone.
Test it like this: lift the float arm by hand and confirm the pump kicks on immediately and runs until you lower the float below the shutoff point. If it chatters, hesitates, or won’t engage, replace the switch now. A replacement float switch costs between $20 and $60. A basement flood costs between $5,000 and $15,000 once you factor in extraction, structural drying, and finish replacement. The math is not close.
Backup power. Your primary sump pump runs on household current, which means it’s dead the moment a storm knocks out power to your block. That’s when Hempstead basements flood: the power goes out, the rain keeps falling, and the pit fills with nothing pushing it out. A battery backup system runs $200 to $500 and buys you 8-24 hours of pumping time on a single charge, depending on the pump’s draw and the inflow rate. Test it monthly by unplugging the primary pump and filling the pit with water until the backup activates. If the battery is more than three years old, replace it on a schedule, not on a failure.
We run restoration calls in Hempstead after every major coastal storm, and the difference between a dry basement and a destroyed one often comes down to whether the backup battery was still holding a charge. It’s a thirty-second monthly test that stands between you and a restoration invoice.
The 15-Minute Post-Rain Walkthrough for Hempstead Basements
Hempstead’s housing stock skews older: brick and stucco exteriors from the 1920s through the 1950s, cinderblock foundations, and original clay tile or cast iron drainage lines. These homes were built before modern foundation waterproofing existed, and they depend on the soil around the foundation staying dry. After any heavy rain, especially the soaking rains we get in November and March, walk this protocol. It takes fifteen minutes and catches seepage before it becomes standing water.
- Start at the exterior foundation line. Walk the perimeter of the house and look for areas where water pools against the foundation or flows toward it. Downspouts should discharge at least six feet from the wall. In Hempstead’s tight lots, that often means a downspout extension or a buried scupper line. Either costs under $30.
- Check the window wells. Many Hempstead basements have below-grade windows. The wells collect leaves, which clog the drains, which fill the well with water, which pushes through the window frame. Clear debris and confirm the drain at the bottom of each well actually drains.
- Go inside and run your eyes along the joint where the basement floor meets the wall. This cove joint is the most common entry point for water in a cinderblock foundation. Look for dark, damp patches or a thin line of water tracing along the seam. Anything wet here means groundwater is being pushed against the wall, and you need to address drainage before it gets worse.
- Check the sump pit. After the rain, the pit should be holding some water and the pump should have cycled. If the pit is bone dry after a heavy rain, either your drainage is working very well or your perimeter drain is clogged. If it’s overflowing or the pump isn’t running, you’ve found the failure before it flooded the floor.
- Look up at the ceiling joists beneath bathrooms and kitchens. Heavy rain can overwhelm stack pipes and roof drains, which run through interior walls to the basement. A dark streak on a joist under the kitchen after a rain points up, not down.
This walkthrough is about pattern recognition. One damp cove joint after one rain is a data point. The same damp patch after every rain is a chronic condition that needs a drainage solution. Hempstead homes with original perimeter drains from the 1940s and 50s often have drains that have collapsed or filled with silt over the decades. When the drain stops working, the water comes inside. The walkthrough catches that failure in its early stages.
Common Mistakes to Avoid
- Relying on a home inspector’s single reading. A home inspection is a snapshot on one day, usually a dry one. Moisture that enters seasonally, like spring groundwater or fall roof leaks, won’t show up in August. Treat the inspection as a baseline, not a clean bill of health for the life of the home.
- Painting over water stains without finding the source. Paint seals the stain but not the leak. The water is still entering, and now you’ve hidden the visual cue that was telling you where. Find and fix the source first, then prime and paint.
- Using a shop vac as a restoration plan. A shop vac removes standing water. It does not dry subfloor, framing, wall cavities, or insulation. In Hempstead’s humid climate, materials that stay above 16% moisture after a week will grow mold. The equipment that actually dries a structure, like the Injectidry systems and LGR dehumidifiers we run under RIA standards, is not something a homeowner rents at a big-box store.
- Ignoring a musty smell because it’s “an old house smell.” That smell is microbial activity in building materials. Older homes may have a certain character, but active mold growth has a distinctive, sharp earthiness. If the smell gets stronger when the humidity rises, it’s active. If it’s constant year-round, it may be historical but still worth investigating.
- Testing a sump pump by lifting the float in a dry pit. That confirms the pump motor runs. It does not confirm the float switch will be free-floating when the pit actually fills, nor that the impeller isn’t clogged with silt from the last storm. Fill the pit with a garden hose and let the pump cycle naturally.
- Waiting for visible staining before investigating a water smell. By the time drywall or ceiling stains appear, the water has been soaking the material for days to weeks. Treat musty odors and elevated humidity as the early warning they are, and respond with a Wendell Restoration Hempstead home moisture assessment before the damage spreads behind finishes.
When to Call a Professional
Some moisture problems are found-and-fixed in an afternoon with a wrench and a caulk gun. Others require professional-grade drying equipment, documentation for insurance, and demolition of wet materials that would otherwise harbor mold. Call a restoration professional in Hempstead when you find standing water that has soaked into drywall or flooring, when your moisture meter reads above 16% in structural framing and you can’t identify the source, when an HVAC or plumbing leak has been running inside a wall cavity for more than a few days, or when a sump pump failure has left water in a finished basement. In our experience as a Hempstead-based restoration company, the cost of professional drying is almost always lower than the cost of the mold remediation and reconstruction that follows a DIY drying attempt that didn’t fully dry the structure-see our Damage Restoration Cost Breakdown: The Hempstead Homeowner’s Reference for 2026 for typical numbers. Wendell Restoration Hempstead offers free estimates in Hempstead with written pricing before any work starts, call (516) 559-6972.
Frequently Asked Questions
Run the full room-by-room checklist quarterly, plus a 15-minute post-rain walkthrough after every heavy storm. Homes in Hempstead with older foundations and original drainage systems benefit from checking the sump pump and cove joints monthly during rainy seasons. The habits take less than an hour and catch most failures before they cause active water damage.
Appliance supply line failures, specifically dishwasher hoses, refrigerator ice maker lines, and HVAC condensate overflows, top the claim list in Hempstead. In older homes, foundation seepage through basement walls during heavy rain is a close second. Both are preventable with the checks described in this guide, and both are cheap to fix before they fail.
Any moisture reading above 16% in wood framing or subfloor indicates an active water source and a mold risk within 48 to 72 hours. Readings between your home’s baseline and 16% warrant monitoring. Use a moisture meter with wood and drywall settings and test the base of walls, under cabinets, and around window frames every few months.
A sump pump that cycles on and off rapidly when the pit isn’t filling, makes a chattering sound, or won’t engage when you lift the float arm is showing classic float switch failure. A pump that runs but doesn’t move water likely has a clogged impeller. Test the pump monthly by filling the pit with a hose and watching it cycle cleanly through the full on-off range.
Most standard homeowner policies in Hempstead cover sudden and accidental water damage from a failed appliance supply line, but groundwater seepage through a foundation is typically excluded without a separate endorsement. Sump pump failure coverage usually requires a specific water backup endorsement. Document everything with photos, keep receipts for repairs and maintenance, and contact your adjuster before any demolition begins. Call (516) 559-6972 for an exact quote on restoration work, estimates are free.
No. Bleach does not penetrate porous building materials like drywall, subfloor, or framing, and it does not kill mold roots below the surface. On materials above 16% moisture content, mold will regrow within days of a bleach treatment. Professional IICRC-standard remediation uses antimicrobial treatments designed for building materials, not disinfectants designed for countertops. If the wet area is smaller than ten square feet and is non-porous, clean and dry it thoroughly. Anything larger or involving porous materials needs professional assessment.
The Bottom Line
Water damage in Hempstead homes is rarely a sudden catastrophe. It’s a slow accumulation of small failures: a pinhole in a dishwasher line, a sump pump float that sticks, a wax ring that compresses, a foundation crack that weeps during rainy stretches. The maintenance checklist that prevents those failures takes less than an hour per quarter and follows the geography of your house, not a calendar. Walk the basement first, then the kitchen, bathrooms, and attic. Test the sump pump monthly. Probe suspicious areas with a moisture meter and treat anything above 16% framing moisture as an active problem. Most preventive fixes cost between $12 and $80. The restoration they prevent averages $4,800 per incident in Hempstead, a fact we know from years of running drying equipment in homes across this town. Run the checklist. Catch the drip early. Call (516) 559-6972 if you find anything you can’t identify or stop yourself.
Written by Blake Sorensen, Owner at Wendell Restoration Hempstead, serving Hempstead since 2006.
See the difference
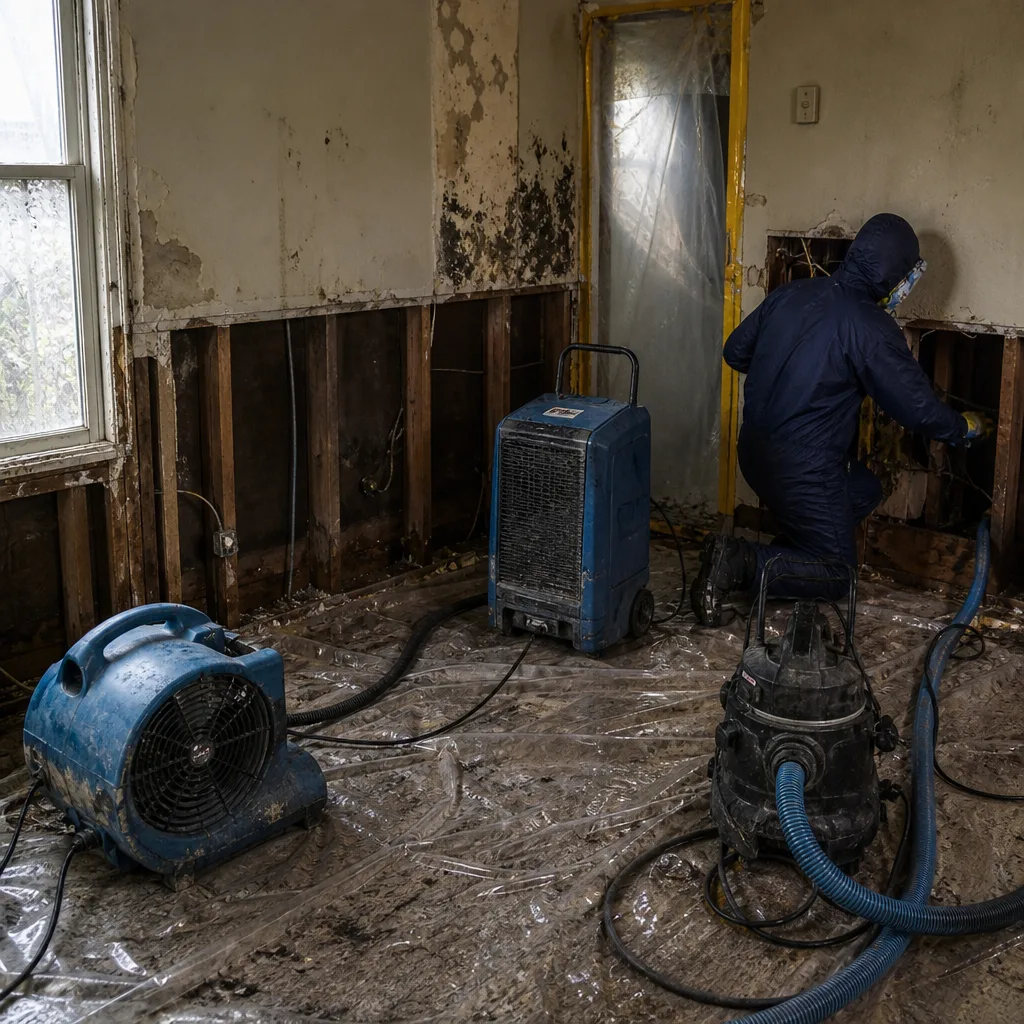 Before
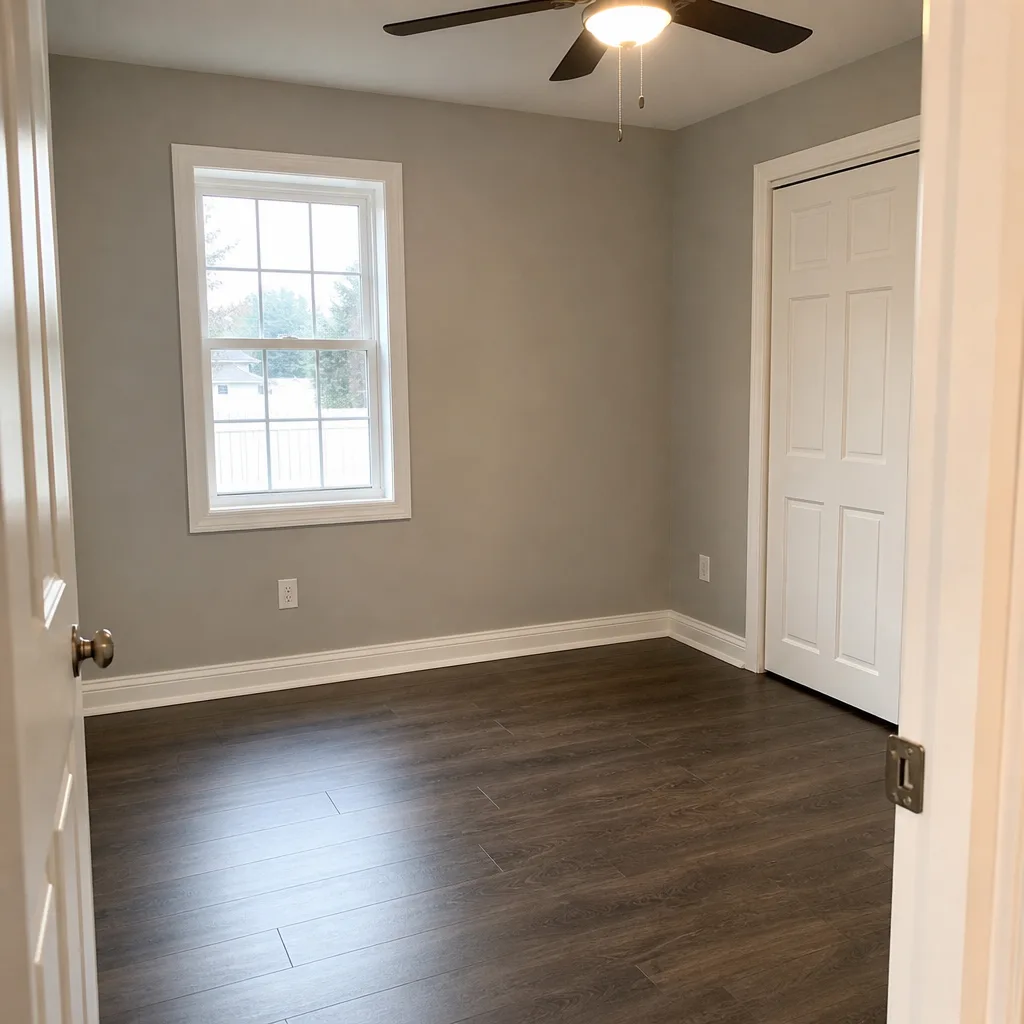 After
After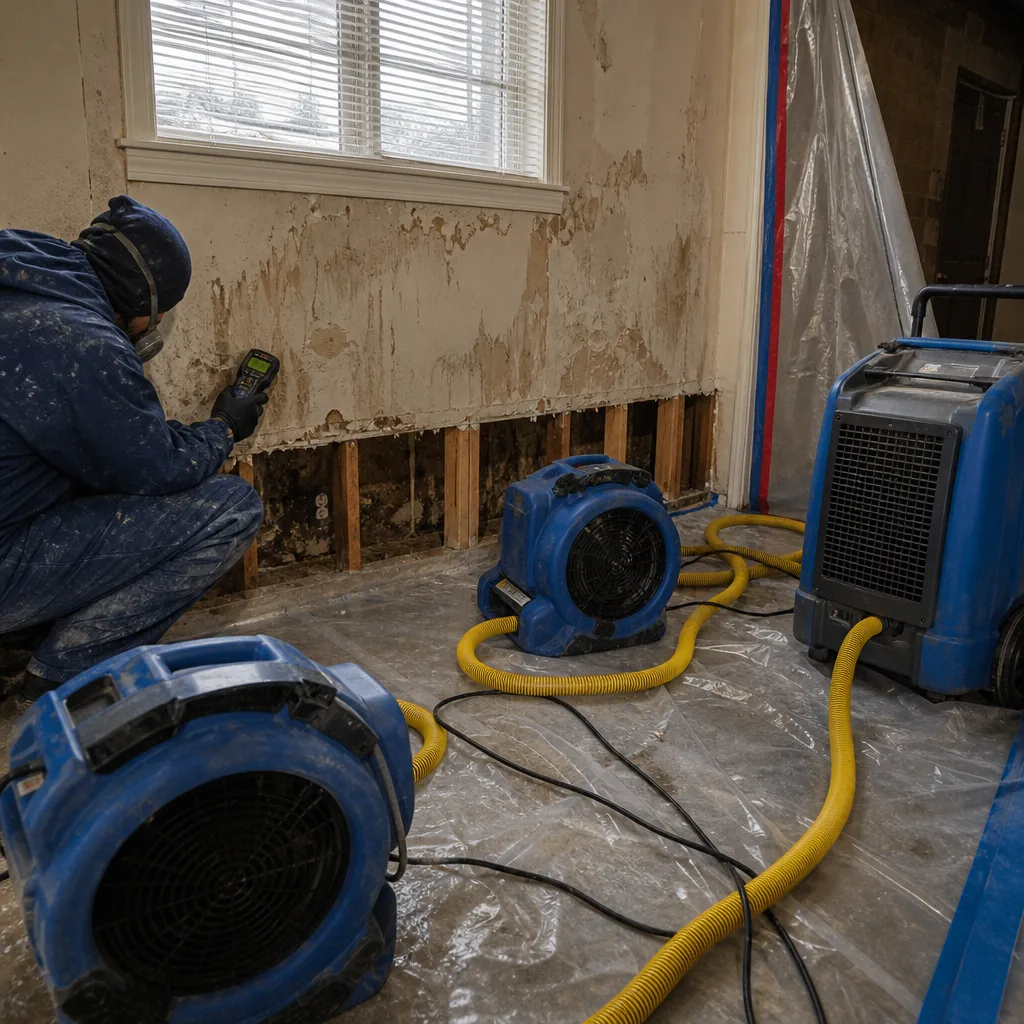 Before
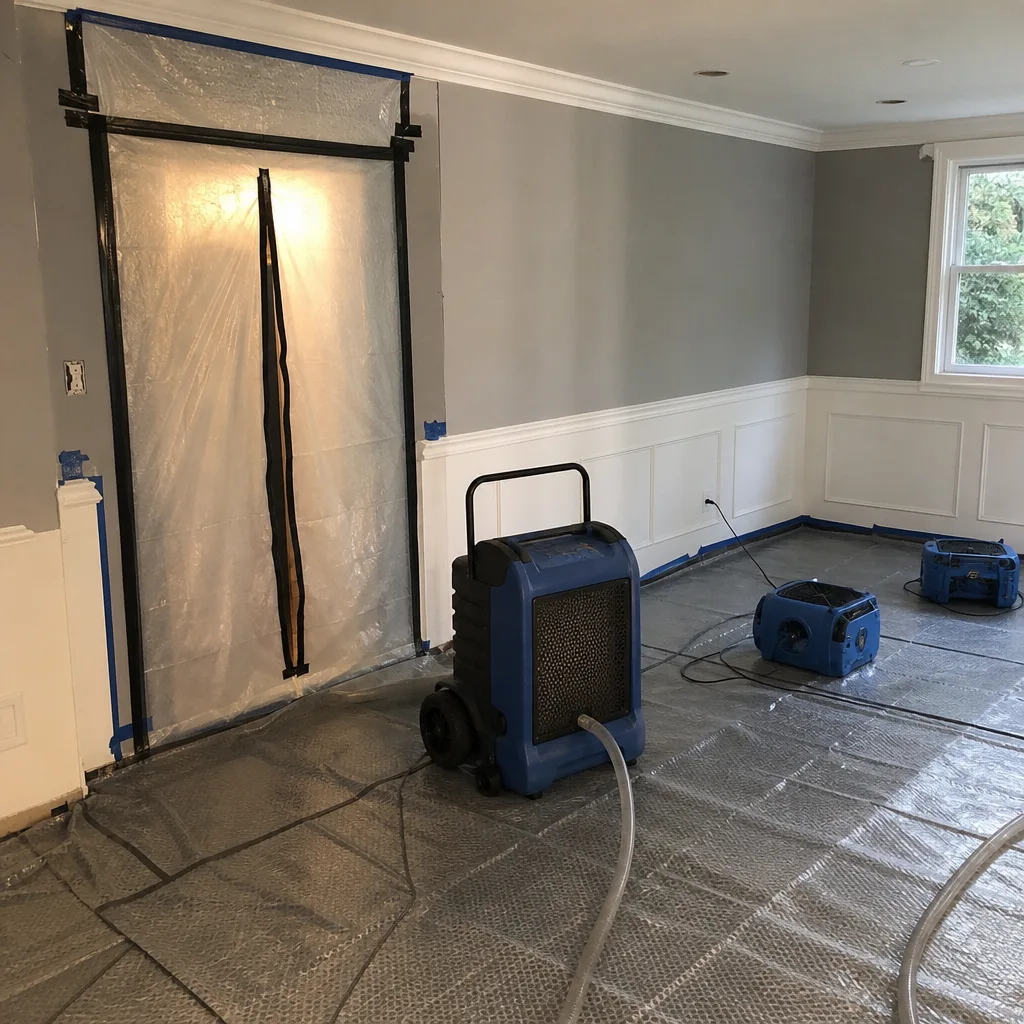 After
After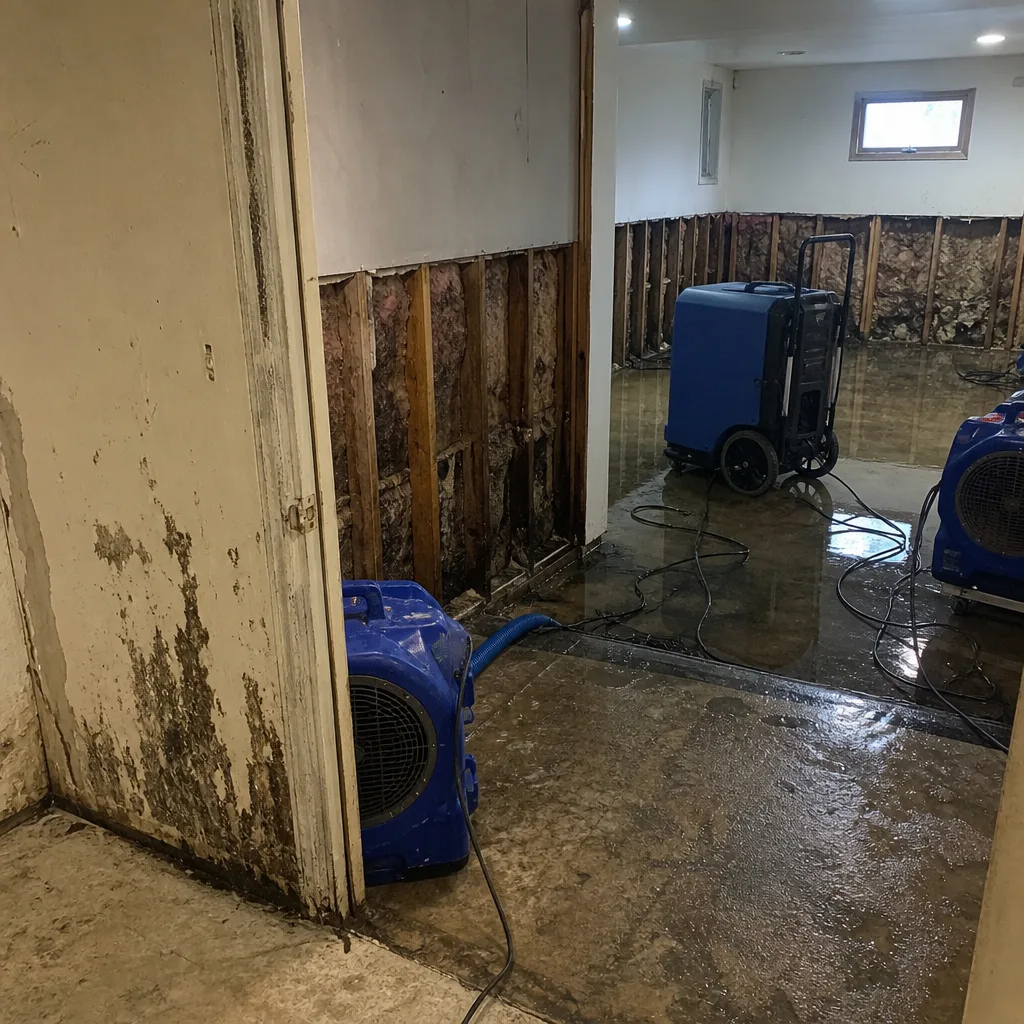 Before
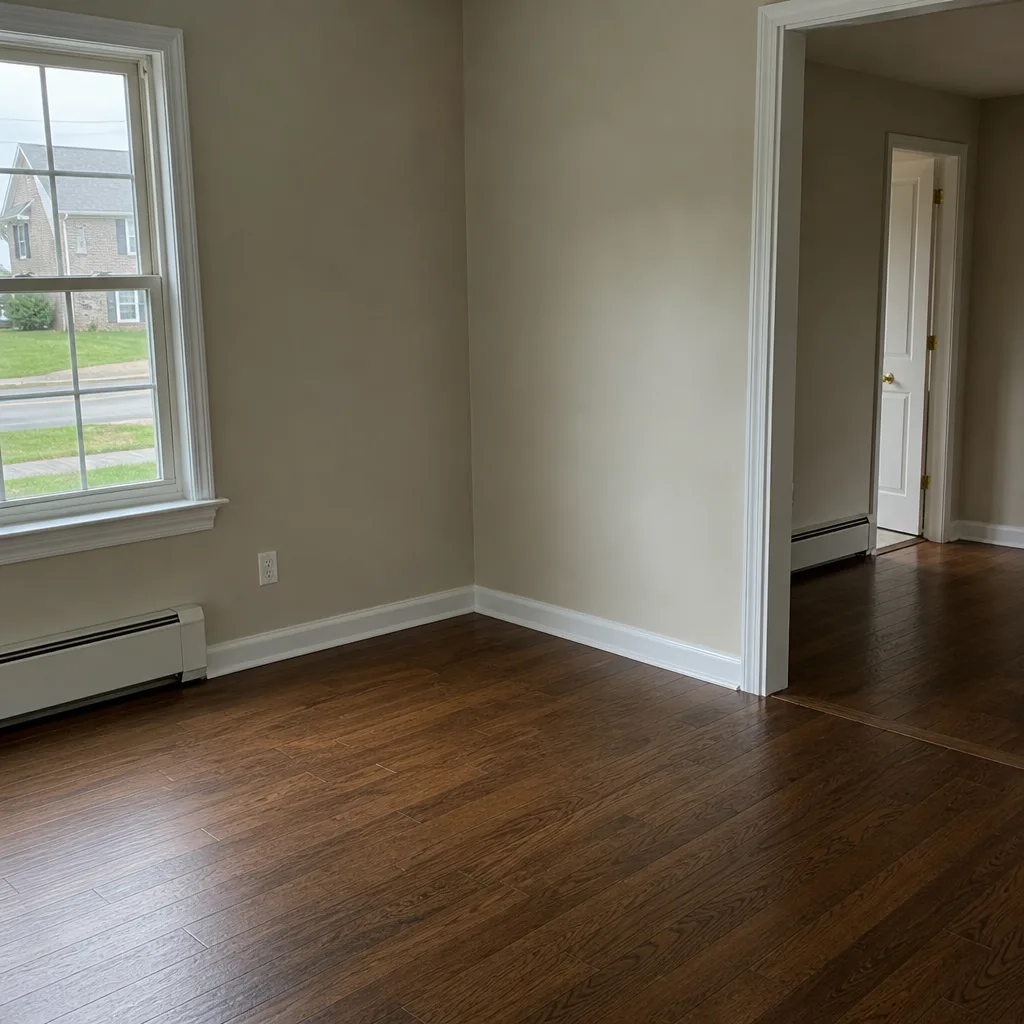 After
After